
How to Play Cyberpunk 2077 on MAC?: Finally, the wait has ended. Cyberpunk 2077, developed by CD Project, is here. Almost, every gaming enthusiast from every nook and cranny of the globe was eagerly waiting for this action RPG. Please note that as of now the game is available for Microsoft PC, Xbox One, PlayStation 4, and Stadia. Going by the official announcement, the game will receive ports for PlayStation 5 and Xbox Series X/S as well in the upcoming year. But, there’s no mention of a MAC Computer anywhere.

So, can you really play Cyberpunk 2077 on MAC? This is the question we are going to answer in this post.
Contents
Cyberpunk 2077 – What is it?
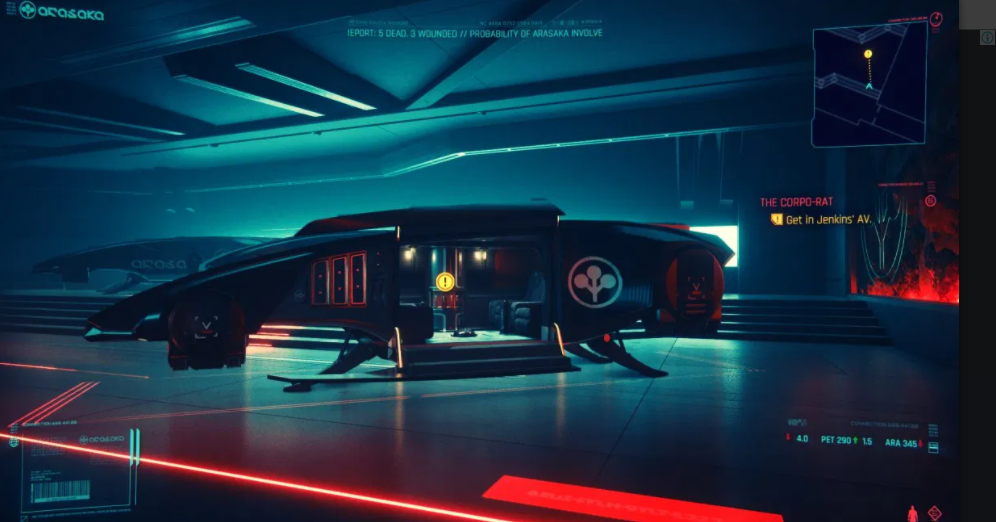
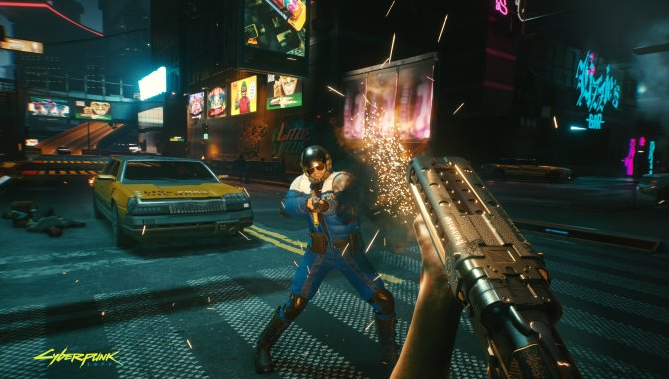
The action RPG Cyberpunk 2077 takes you to Night City, a fictional metropolitan city situated on the west coast of America. As you might have guessed by the name of the city, the place is filled with criminals and it is up to you how you make a name for yourself in the city.
It’s easy now: Best Way to Create & Use Memoji in macOS Big Sur Update.
Is there a version of Cyberpunk 2077 on macOS?
Unfortunately, there’s no official version of Cyberpunk 2077 on macOS. So, you cannot straight away download the game and initialize playing on your MAC Computer. Fret not as we are here to provide you with working methods that will allow you to play Cyberpunk 2077 on MAC irrespective of your macOS version.

Working Methods – Play Cyberpunk 2077 on MAC
Method 1 > Get Cyberpunk 2077 on macOS with Boot Camp
Boot Camp provides you with an opportunity to install Windows and run it on MAC. All you need to do is launch Boot Camp and install Windows on the platform. However, before you proceed with this method, you must know that this solution will consume a lot of resources for gaming. Hence, you should proceed with this method only if you are using a MAC Pro with an impeccable video card. Following are the steps to run Windows on MAC via Boot Camp.
- Please run the Boot Camp Assistant on your MAC.
- When asked to select an ISO image, please select the Windows ISO file that you have created and Boot Camp will load the same on a USB Drive for you.
- Thereafter, Boot Camp will automatically launch a prompt stating that it will download the driver software for Windows and place the same on the USB Drive.
- Next, Boot Camp will automatically split your hard drive into two sections with 40 GB allocated to the Windows part. You can adjust accordingly.
- Now, your MAC will get shut down and Windows installation process will start. Simply follow the prompts that come up to install Windows on MAC.
- Post completion once you boot up your MAC, hit the Option button and you will see two partitions getting displayed in front of you. Select the Windows one to boot up your MAC from Windows.
Method 2 > Get Cyberpunk 2077 on macOS with GeForce Now
A much better alternative to Method 1, is using GeForce Now to Play Cyberpunk 2077 on MAC. GeForce Now from Nvidia is a cloud-based gaming service that allows you to play games not installed on your system online. So, even though you cannot install Cyberpunk locally on your MAC, you can utilize the services of GeForce cloud to play it on your MAC Computer.
Since the game is running on a remote server and you are simply getting the real-time stream of the game, you needn’t worry about hard drive space, RAM, or processor criteria to play the game. The only thing that you need to make sure is that you have a strong and brawny internet connection. Check out this Tutorial to Configure & Use Control Center on Mac (macOS Big Sur Update).
MAC and macOS Requirements for GeForce Now
Please note that your MAC Configuration must be one of the following to use the services of GeForce Now.
- iMac 20” Late 2009 and newer
- iMac 21.5” Late 2009 or newer
- iMac 27” Late 2012 or newer
- MacBook 2008 and newer
- MacBook Retina Mid 2017 or newer
- MacBook Air 11” Early 2015 or newer
- MacBook Air 13” Late 2008 or newer
- MacBook Pro 13” Early 2015 or newer
- MacBook Pro 15” Late 2008 or newer
- MacBook Pro 17” 2009 or newer
- Mac Pro Late 2013 or newer
As far as macOS version is concerned, Nvidia states that your macOS version must be 10.1.0 or more to be compatible with GeForce Now.
Internet Requirements for GeForce Now
As far as internet speed is concerned, a minimum of 15 Mbps speed is required if you wish to play the game at 720p and 60 FPS. However, if you wish to play at 1080p with 60 FPS, then you require 25 Mbps.
According to users there’s a latency of about 15ms while playing Cyberpunk 2077 on GeForce Now. You can reduce the latency by using a Wired Connection instead of a wireless one or making sure that your WiFi router is providing a frequency of 5 GHz. You can also check out: You can Run Windows Apps & Games on M1 Macs through CrossOver 20.
How to Play Cyberpunk 2077 on GeForce Now?
- As a first, you require heading over to Nvidia Website, where you require creating an account for yourself.
- Thereafter you require selecting the type of GeForce Now subscription that you want.
- Next, please download the GeForce Now application on your MAC.
- Post successful installation, launch the application and log into the same using your Nvidia Account.
- After successful login, you can simply search for Cyberpunk 2077 via the search bar. Plus, the game will be present in the featured section on the homepage as well.
- Just hit the Play button now to start playing Cyberpunk 2077 on MAC.
If you are looking for best android emulator for Mac, I would recommend you to check this out Detailed Review of BlueStacks Vs Nox Player for Mac.
Final Words – Cyberpunk 2077 for macOS
So, here we are with the two methods that you can utilize to play Cyberpunk 2077 on MAC. We recommend going ahead with GeForce Now if you aren’t using a high-end MAC. However, you still require a fast and stable internet connection. Let us know in the comments section provided below which method worked best for you.
Thank You.